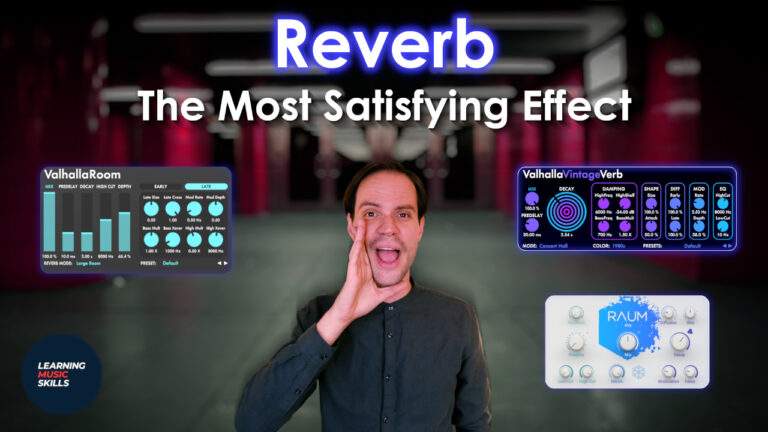
Reverb is the most satisfying effect. Don’t you agree? It’s easy to use, but also to make mistakes. If you love reverb then check out this

Music and reverb go hand in hand. In the real world, reverb is all around us. Inside our houses, in nature. Imagine the sound of your voice in a parking garage or a big hallway. That’s all reverb. And for all the people who like to sing in the shower, our bathrooms are notorious for their reverberation.
Reverb is something natural, which also explains why it sounds so strange when it is missing in our
Here are 4 essential reverb techniques that you need to know for how to use reverb. You can also use these as a guideline for reverb techniques on guitar.
- Sending reverb to an Aux track or as a send effect
- Filtering the reverb with an EQ
- Setting the pre-delay of your reverb and playing with it
- Finding and setting the correct reverb tail.
Let’s dive into each technique and let’s get creative!
Video Tutorial: How To Use Reverb
Check out my video tutorial below if you want to hear how all of these techniques sound. Or if you want to see all of these reverb techniques put into real-life
Sending Reverb To An Aux Track Or Send Effect
The quickest way to get some reverb is by putting one directly onto your track. But there are multiple reasons why you want to avoid this.
- Reverb is a very resource-heavy plug-in.
- You have limited control over the reverb.
- Having too many different ambiences in your track is distracting.
Reverb takes up a lot of memory and is quite resource-heavy. If your project has 40 tracks, it is not unthinkable that 10 of these tracks need reverb. This means that you need 10 heavy plug-ins. Can you imagine how much processing power that will take?

If you want to have more control over your reverb, save resources and be able to send many tracks to your reverb. Then you need to put it on a separate track. Or on an aux track, but this depends on which DAW you are using. So what you are doing, is sending audio from your original track to the reverb track. This will give you the freedom to mute and adjust the reverb to your wishes.

How to put reverb on a separate track or aux/send track:
- Create a new track or aux send track
- Put a reverb on the effects slot
- Send/route your desired audio signal to this new track
- Decide how much is being sent by adjusting the send amount.
In most DAW’s the send is automatically set to post fader. This means that when the volume of your source track is lowered, then also less volume is sent to your reverb track. The balance between the reverb and dry signal remains the same! Deciding when to put a reverb on a separate track is the first step to learning how to use a reverb.

Filtering the reverb with an EQ
Reverbs can quickly fill and muddy up your entire mix. This is where a lot of people make mistakes. Yes, it sounds amazing, but when is it too much? In a reverb signal, we often have too much frequency information. So it is essential to filter out some of these unwanted frequencies. But you can only filter your reverb effectively if you have put it on a separate track.
How to filter your reverb
- Put your reverb on a send track
- Add an EQ before or after your reverb plug-in
- Add a high-pass filter
- Add a low-pass filter
- Additionally, you can also add extra bands if necessary
These reverb filtering techniques will clean up your reverb track and your mixes will benefit immensely! Often I set my low-pass filter to about 10 kilohertz and my high-pass to 600 hertz.

Setting the pre-delay of your reverb and playing with it
How to set pre-delay on reverb is often overlooked. I think this is because it is not quite clear what it does. The question of what is pre-delay in reverb is not uncommon. The fact that it is very subtle doesn’t help. It’s more of a detail. Nevertheless a very important detail!
Let’s start with a question: Do you always want your dry signal and reverberated signal to sound and mix at the same time? By setting the pre-delay you can separate your reverb and your original track. Why add pre-delay to your reverb:
- It helps separate the dry and processed signal
- Setting the pre-delay helps you place the instrument in the space or room
No Pre-delay: When there is no pre-delay, then it is as if the instrument is being played all the way in the back of the room. This is because the reverb and original signal reach your ear at the same time.
With Pre-delay: When you do set pre-delay, then you are separating the reverb and original sound. Imagine a piano or guitar player in a room. With pre-delay, the sound of the instrument reaches your ear first. And then the sound of the ambience or reverb. What you will hear are two attacks. One from the original signal and the second one from the reverberated signal.
Check out the video tutorial below if you want to hear the difference between the two. And whenever you question how to use reverb, don’t forget about the pre-delay!

Finding and setting the correct reverb tail
This last reverb technique is subtle, but a very important one. The reverb tail or the decay time, is the time it takes for the reverberated sound to die away completely. And this might seem unimportant when figuring out how to use reverb, but it’s not. Reverb techniques guitar often have this problem because it’s easy to forget when you use a reverb pedal. Here is why you want to set the perfect decay time:
- The reverb will flow better with your track
- The reverb will not overlap with other sounds
- The reverb will take up less space in your mix
Especially the second reason needs to be clarified. When you put a reverb on a snare drum, then you don’t want the tail of your reverb to muddy up any new snare attacks. By setting the correct decay time your reverb will lock in with your track. Thus creating a nice and tight sound! There is no fixed formula for this, so you need to do this by ear.
My Favourite Reverb Plug-in
There are thousands of reverb plug-ins. Each reverb has its use. But if I may offer some advice: expensive does not always mean good. My favourite reverb only cost 50$ each. Which is a steal if you ask me.
I am a big fan of the products from ValhallaDSP. I am not endorsed, but I just love their reverbs. They are extremely versatile. And you can buy all 4 reverbs for just 200$. I promise that you will never want to do without.

Why Is Reverb Such a Beautiful Effect?
Reverb is so beautiful in
- Spatial Expansion: Reverb makes sounds feel like they’re in a larger, more open space. This expansion dips the listeners into a rich sonic environment.
- Emotional Resonance: The ethereal quality of reverb can evoke deep emotions in people. It can also add a touch of mystery and beauty by giving sounds a dreamy and otherworldly character.
- Texture and Warmth: Reverb adds a velvety texture to the sound. This warmth and gentle touch can be emotionally moving.
- Continuity and Flow: Reverb blends notes and all sounds together. This makes transitions smoother. It’s like a musical glue that connects different elements.
- Enhancing Melodies: You can give your melodies extra emotion and impact by letting your melodies float with the reverb.
- Sonic Palette: Musicians use reverb to improvise and create rich textures. It adds sonic depth and creates a beautiful listening experience.
- Mimicking Natural Spaces: Reverb simulates the way sound behaves in real spaces, like concert halls, cathedrals, or canyons. These natural echoes and reflections add a sense of realness and beauty to the sound.
- Enveloping Experience: When used effectively, large reverb textures can wrap the listener in sound, creating an immersive experience. This feeling of being surrounded by
music contributes to its beauty. - Emphasis and Highlighting: Reverb can emphasize certain parts of a composition, making them stand out and shine.
- Transformative Power: When you use large reverbs it can take a simple sound and turn it into something truly majestic.
Conclusion
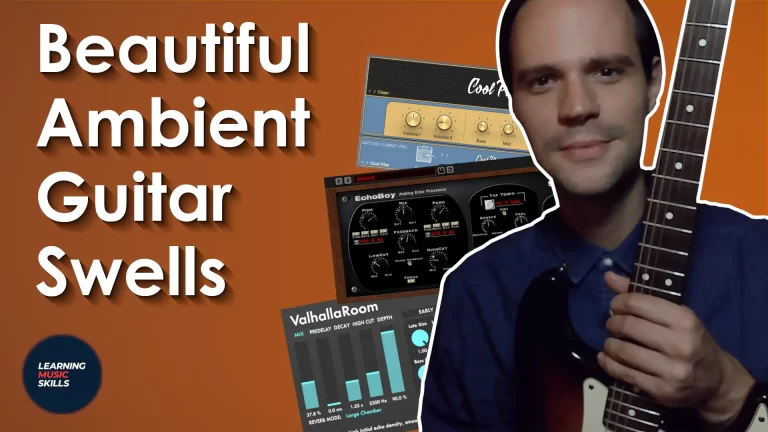
Probably you already knew that reverb is an amazing effect because otherwise, you would not have made it this far. I just want to emphasize that it is really important to play around with all your reverb’s parameters. Because you can easily mess up your mix or maybe you are missing out on some amazing possibilities. For example, without heavily filtering the reverb your guitar swells would sound horrible.
A tip that I would like to give to you is that you always A/B check when you change reverb parameters. Especially when making big changes or experimenting. Just bounce the specific track and compare it to your dry track (or track with previous reverb settings).
In any case long live reverb!
Your Support Matters
Support new videos by becoming a member and receive benefits in return. Or by giving a one-time donation! Help me provide free
https://www.buymeacoffee.com/musicskills


